top of page
MySQL

MySQL_Windows: Welcome
Instructions
MySQL_Windows: Text
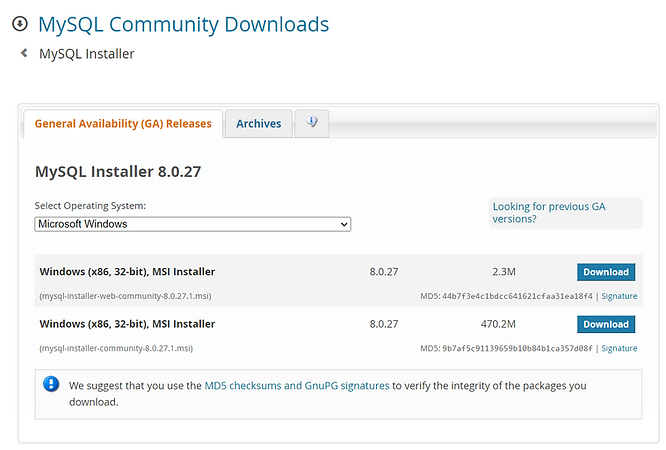
1- Click on the link : https://dev.mysql.com/downloads/installer/
contact us if you face a problem during the installation steps
MySQL_Windows: Text
2- Click on Download Button from your approprate windows bit
.png)
MySQL_Windows: Text
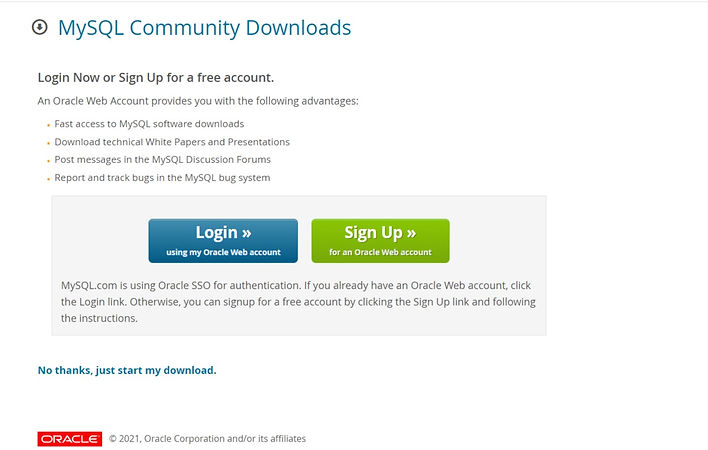
3- Now your MySQL starts Download
_edited.jpg)
MySQL_Windows: Text
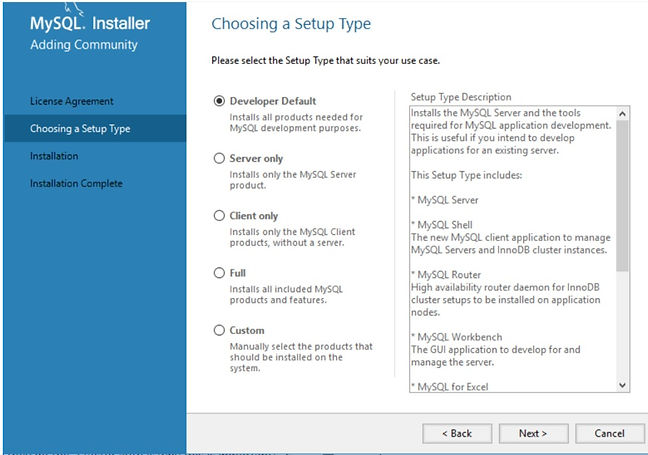
4-Run the installer that you downloaded from its location on your server, generally by double-clickin
_edited.jpg)
MySQL_Windows: Text
5-
Next, determine which MySQL server installation type you would like to use:
managing the database directly, you can install just the server (you can always install additional tools later).
_edited.jpg)
MySQL_Windows: Text
6-
4. Install the server instance and whichever additional products you selected. Then begin the configuration process by selecting the availability level (most users will use the default, standalone version).
5. Complete the configuration process by following the on-screen instructions. You’ll want to make sure to install MySQL as a Service so that Windows can automatically start the service after a reboot or can restart the service if it fails. For additional, step-by-step instructions, see MySQL Server Configuration with MySQL Installer.
MySQL_Windows: Text
MySQL_Windows: Contact
bottom of page